Ultimate Guide to Product Photography for Takealot Sellers in 2025
High-quality product photography is crucial for success on Takealot. In fact, according to our research at Revenuealot, listings with professional product images can see up to 35% higher conversion rates compared to those with poor quality photos. This comprehensive guide will help you create professional product images that meet Takealot’s requirements and drive sales.
Video Tutorial: Professional Product Photography
Takealot’s Image Requirements in 2025
Understanding Takealot’s strict image requirements is essential for marketplace success. These aren’t just suggestions—failing to meet these standards can result in listing rejections and lost sales opportunities.
Technical Specifications
- File format: Only JPEG and PNG are acceptable (no transparent backgrounds in PNGs)
- Image size: Minimum 600px on any side, maximum 5000px on any side
- Resolution: Minimum 72 DPI for clarity when zoomed
- Aspect ratio: Square or close to it (4:3, 3:2, 16:9, 5:3, 5:4 recommended)
- File size: Maximum 10MB per image
- Color mode: sRGB only
- Image frame: Product must fill 85-95% of the frame
Source: FlatLayStudio’s Takealot Requirements Guide
Primary Image Requirements
- Background: Solid white only (RGB 255,255,255 or #ffffff)
- Product display: Single unused product outside packaging (with specific exceptions)
- No borders: Borders are not allowed on primary images
- Shadows & reflections: Only light, believable shadows permitted
- Image type: Photographs only (no CAD drawings, thumbnails, or illustrations)
- No text or graphics: Keep the focus on the product itself
For additional details, read our article on How to Avoid Takealot Listing Rejections which covers common mistakes sellers make with product imagery.
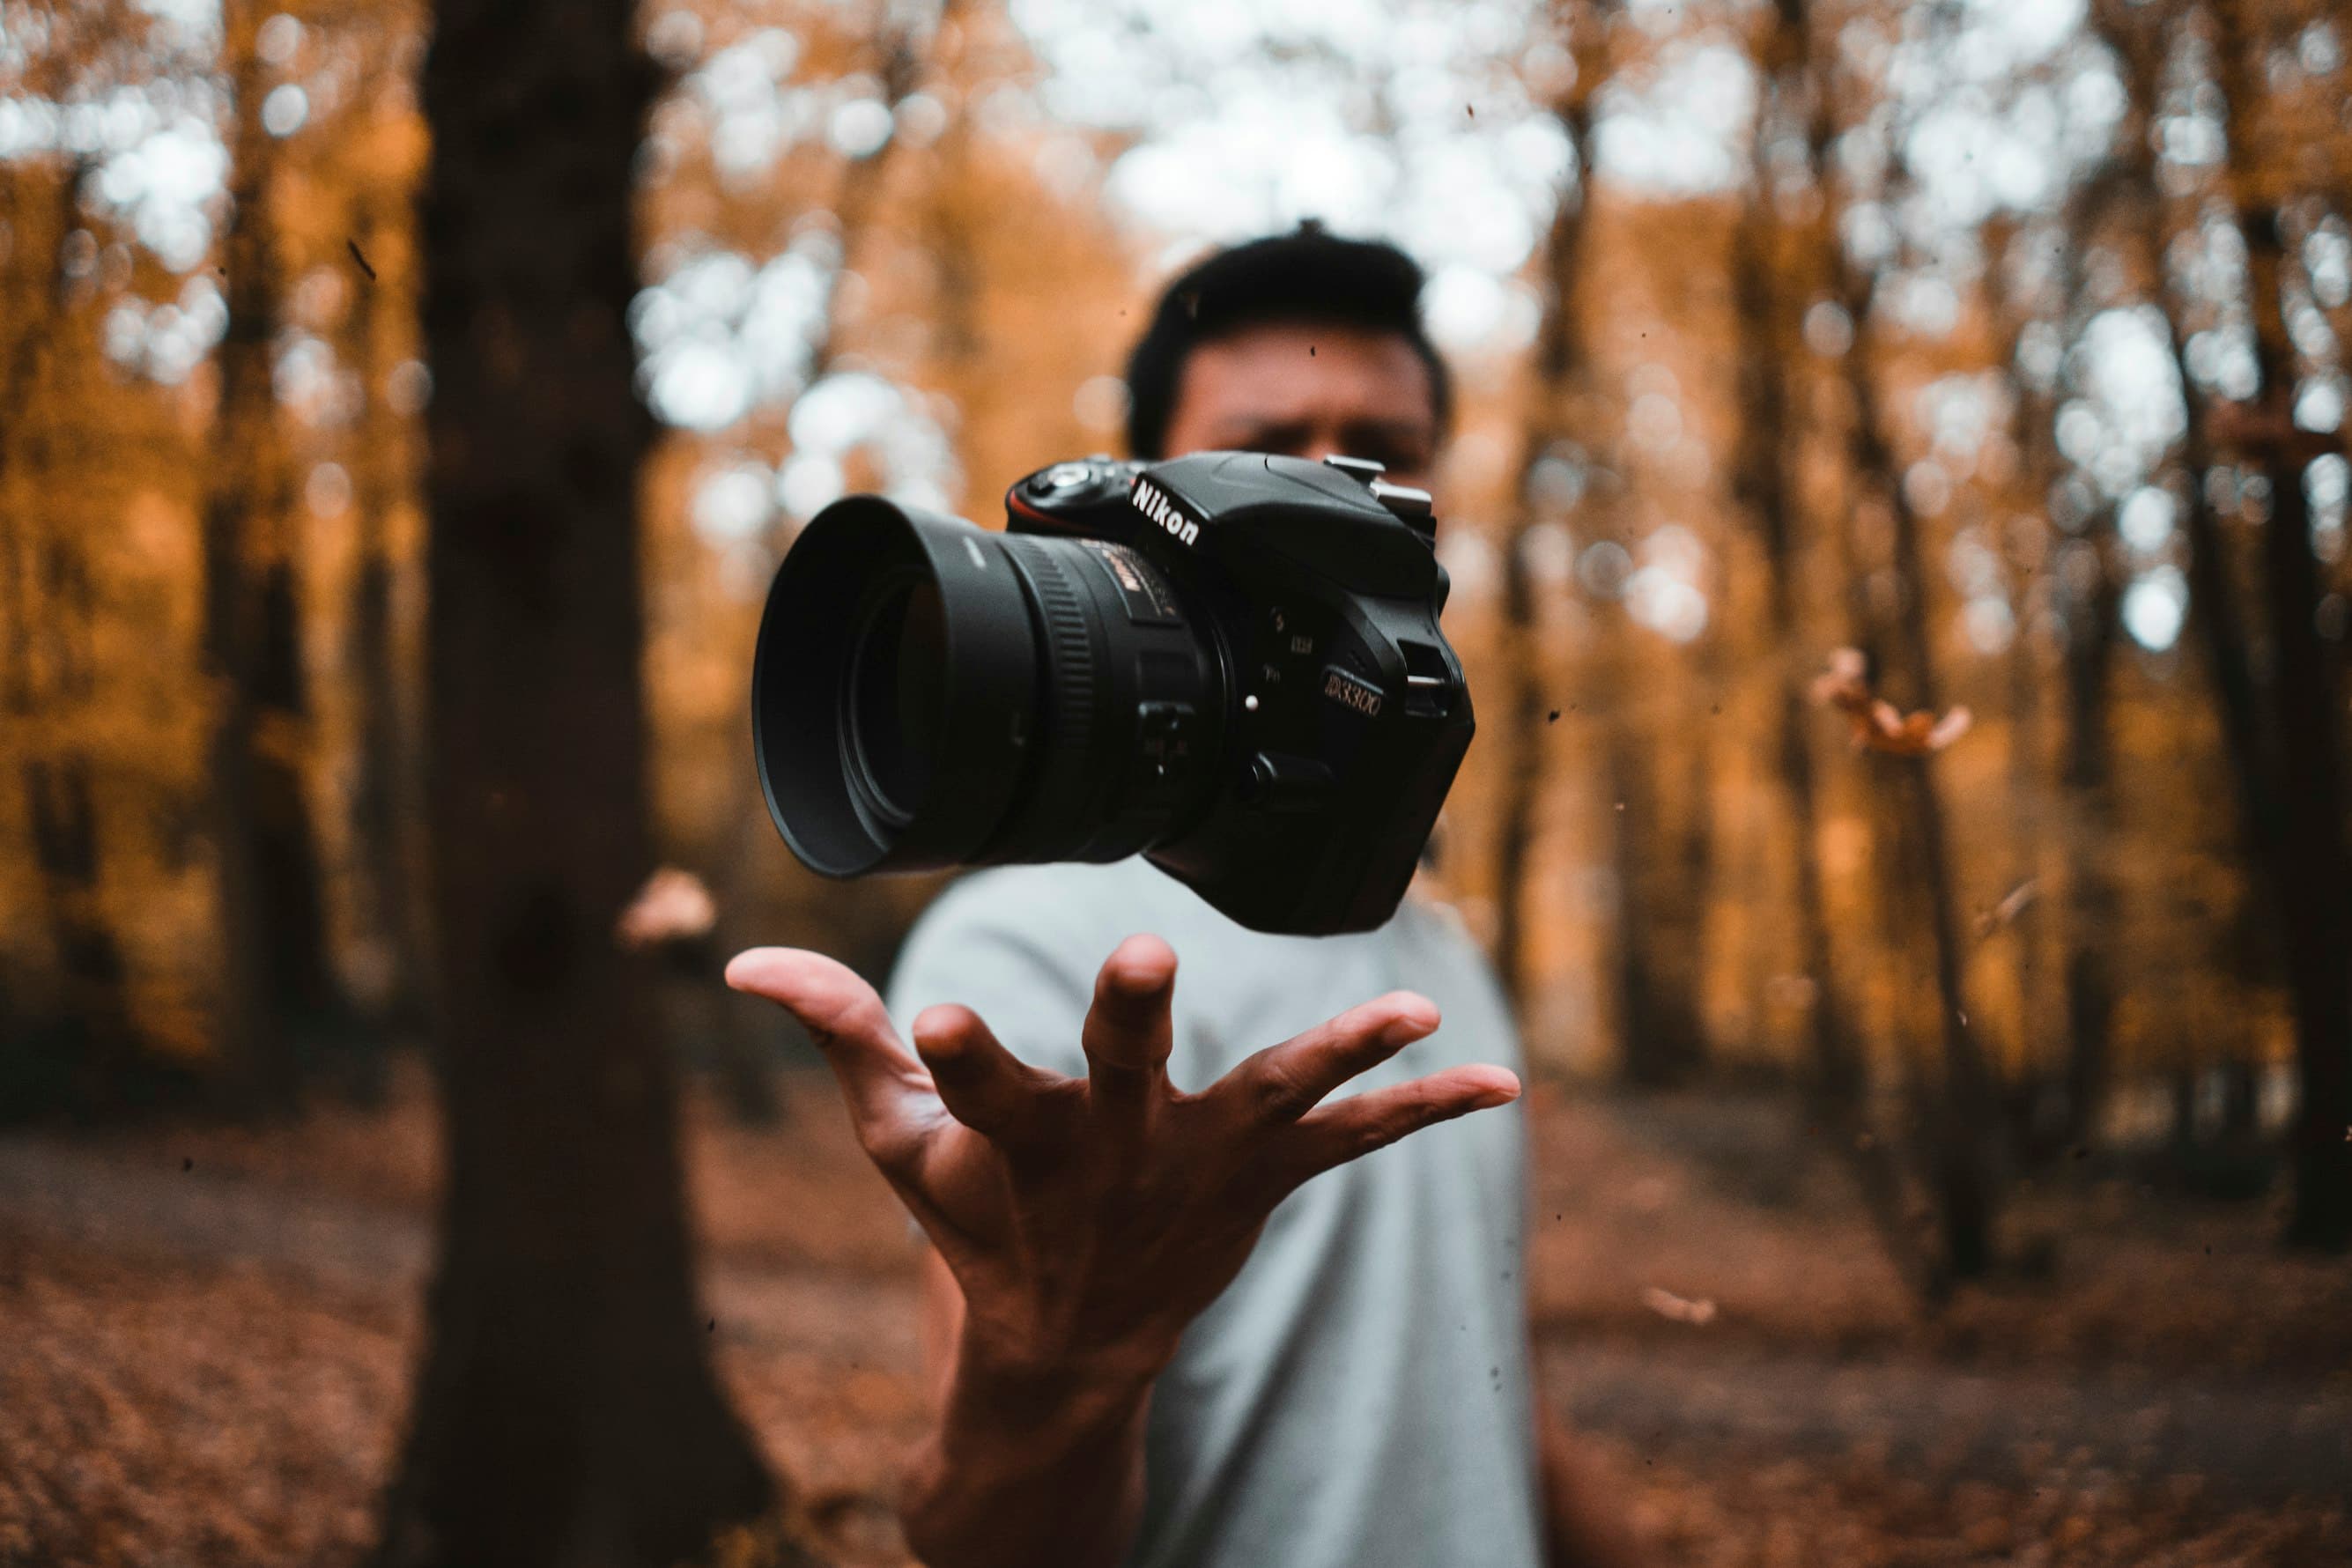
Essential Photography Equipment
The right equipment makes a significant difference in your product photography quality. Based on our experience helping thousands of Takealot sellers through Revenuealot’s analytics platform, here’s what we recommend:
Basic Setup (Budget-Friendly Options)
- Camera: Modern smartphone (iPhone 12+ or equivalent Android) or entry-level digital camera
- Tripod: Essential for stability and consistent shooting angles
- Lighting: Two 5500K LED lamps or softboxes
- White backdrop: Seamless paper, vinyl, or fabric (at least 1m wide)
- Reflectors: White foam board or collapsible reflectors
- Diffusers: Translucent fabric or purpose-made diffusion panels
Professional Setup Recommendations
- Camera: DSLR or mirrorless with manual controls (Canon EOS, Sony Alpha, Nikon Z series)
- Lenses: 50mm prime lens for standard products, macro lens for small items
- Lighting: Professional continuous lighting kit with softboxes and diffusers
- Background system: Professional backdrop stand with seamless paper rolls
- Lightbox/photo tent: For smaller products requiring controlled lighting
- Color calibration tools: ColorChecker Passport or similar
- Post-processing software: Adobe Lightroom and Photoshop or Affinity Photo
Step-by-Step Photography Setup Guide
1. Creating the Perfect White Background
The pure white background requirement (RGB 255,255,255) is often the most challenging aspect of Takealot photography. Here’s how to achieve it:
Method 1: Sweep Technique
- Position your seamless white backdrop to create a curve between vertical and horizontal surfaces
- Ensure the curve is smooth to eliminate any visible horizon line
- Position your product at least 20cm in front of where the backdrop begins to curve
- Light the background separately from the product
Method 2: Lightbox Approach
- Use a commercial photo lightbox or DIY version
- Position LEDs to evenly illuminate all sides
- Ensure no color cast from surroundings
Method 3: Professional Background Removal
If physical setups aren’t working, consider professional editing services or tools like:
- Adobe Photoshop’s selection tools
- Remove.bg for automatic background removal
- Clipping Path services for complex products
2. Lighting Techniques for Takealot-Ready Photos
According to ShopGlu’s Takealot guide, proper lighting is crucial for meeting Takealot’s requirements:
Three-Point Lighting Setup
- Key light: Position at 45° to the front-right of product
- Fill light: Position at 45° to the front-left, at lower intensity than key light
- Rim/back light: Position behind and above product to create separation from background
Window Light Method (Budget Option)
- Position product near large window with indirect sunlight
- Use white foam board opposite window to bounce light and fill shadows
- Diffuse direct sunlight with translucent curtain if needed
Advanced Lighting Tips
- Use softboxes or diffusers to create soft, even lighting
- For reflective products, use black cards to create negative fill
- For transparent products, use backlighting for definition
- For textured products, use side lighting to highlight surface details
3. Camera Settings for Optimal Product Photos
Getting your camera settings right is essential for sharp, well-exposed images:
Essential Camera Settings
- Mode: Manual or Aperture Priority
- ISO: 100-400 (lower is better for clean images)
- Aperture: f/8 to f/16 (for maximum depth of field)
- Shutter speed: 1/60 or faster (use tripod for slower speeds)
- White balance: Custom white balance using grey card
- Focus: Manual focus for precision
Smartphone-Specific Settings
- Use Pro/Manual mode if available
- Lock focus and exposure on product
- Use grid lines for composition
- Activate HDR for high-contrast products
- Use timer to avoid camera shake
Product-Specific Photography Guidelines
Different product categories require specific approaches to showcase their features effectively:
1. Clothing and Apparel
- Use ghost mannequins for professional look
- Show all angles (front, back, sides)
- Include close-ups of fabric texture, stitching, and special features
- Present size reference or scale indicator
- Display all available color variants consistently
For more tips, read our guide on Optimizing Apparel Listings on Takealot.
2. Electronics and Tech Products
- Show powered-on state where applicable
- Include images of all ports and connections
- Display product with and without packaging
- Show scale with common objects
- Include images of included accessories
3. Home, Kitchen, and Decor
- Show items from multiple angles
- Include in-context lifestyle shots (as secondary images)
- Provide clear size reference
- Display color/material variations
- Show assembly stages for items requiring setup
4. Beauty and Personal Care
- Capture front and back of packaging
- Show product dimensions with scale reference
- Display texture for creams/lotions
- Include ingredient lists where relevant
- Show application method (as secondary images)
Advanced Post-Processing Techniques
Professional editing is often necessary to meet Takealot’s strict white background requirements:
Essential Editing Workflow
- Color correction: Adjust white balance to ensure accurate product colors
- Exposure adjustment: Ensure proper brightness without losing detail
- Background cleanup: Achieve pure white (255,255,255) background
- Remove dust/imperfections: Clean up any spots or defects
- Sharpening: Apply appropriate sharpening for web display
Recommended Editing Tools
- Professional: Adobe Photoshop and Lightroom
- Mid-range: Affinity Photo, Luminar
- Budget-friendly: GIMP, Pixlr, Canva Pro
- Automated options: Remove.bg, Glorify, Fotor
For detailed tutorials, check out our article on Post-Processing Product Photos for E-commerce.
Measuring Success: Image Performance Analytics
At Revenuealot, we’ve found that tracking how your product images perform is crucial for optimization. Consider these metrics:
- Conversion rate impact: Compare conversion rates before and after image improvements
- Click-through rates: Monitor if better images drive more traffic to listings
- Customer feedback: Note any comments about product appearance
- Return rates: Track if improved images reduce returns due to “not as described”
Our Revenuealot analytics platform can help you track these metrics across your Takealot store.
Learning from Amazon’s Product Image Standards
While Takealot has its specific requirements, there’s much to learn from Amazon’s approach to product photography:
Transferable Lessons from Amazon
- Main image excellence: Like Takealot, Amazon requires clean, white-background main images
- Secondary image variety: Use additional slots to show all angles and uses
- Lifestyle context: Show products in use to help customers visualize ownership
- Infographic approach: Use text overlays and callouts in secondary images only
- Comparison imagery: Show size, color options, and included accessories
Sources: Amazon Seller Central Blog, Helium10’s Image Optimization Guide
Common Rejection Reasons and How to Avoid Them
Based on data from Takealytics and our own research at Revenuealot, these are the most common reasons for image rejections:
Top Image Rejection Reasons
- Non-white background: Background not pure white (RGB 255,255,255)
- Low resolution: Images below 600px minimum dimension
- Improper framing: Product doesn’t fill 85-95% of frame
- Watermarks/text overlay: Any text on main image
- Poor lighting/shadows: Uneven lighting or harsh shadows
- Props/models in main image: Main image must show product only
- Poor crop/composition: Awkward cropping or composition
- Color inaccuracy: Colors don’t match actual product
For each listing, use our Product Image Compliance Checklist to ensure you meet all requirements.
Using Revenuealot for Image and Listing Optimization
Our Revenuealot platform offers several tools to help with your product photography strategy:
- Competitor analysis: See which product images perform best in your category
- Listing quality score: Get feedback on how your images compare to top performers
- Image performance tracking: Monitor how image changes impact conversion rates
- Bulk listing management: Update multiple product images efficiently
- Rejection risk assessment: Identify listings at risk of image-related rejections
Conclusion: Investing in Quality Product Photography
Quality product photography is not an expense—it’s an investment with measurable ROI. Our data shows that Takealot sellers who invest in professional product photography see an average of:
- 32% increase in click-through rates
- 27% higher conversion rates
- 18% reduction in return rates
- 41% improvement in overall listing performance
For more information on optimizing your Takealot listings, check out our related articles:
- How to Register as a Takealot Seller
- Ultimate Guide to Winning the Takealot Buybox
- How to Add Your First Product on Takealot
- Overcoming Rejected Products on Takealot
Remember, in the competitive Takealot marketplace, your product images often make the first impression. Make it count with professional, compliant photography that showcases your products at their best.
Ready to take your Takealot store to the next level? Visit Revenuealot to discover how our analytics and optimization tools can help you boost your marketplace performance.